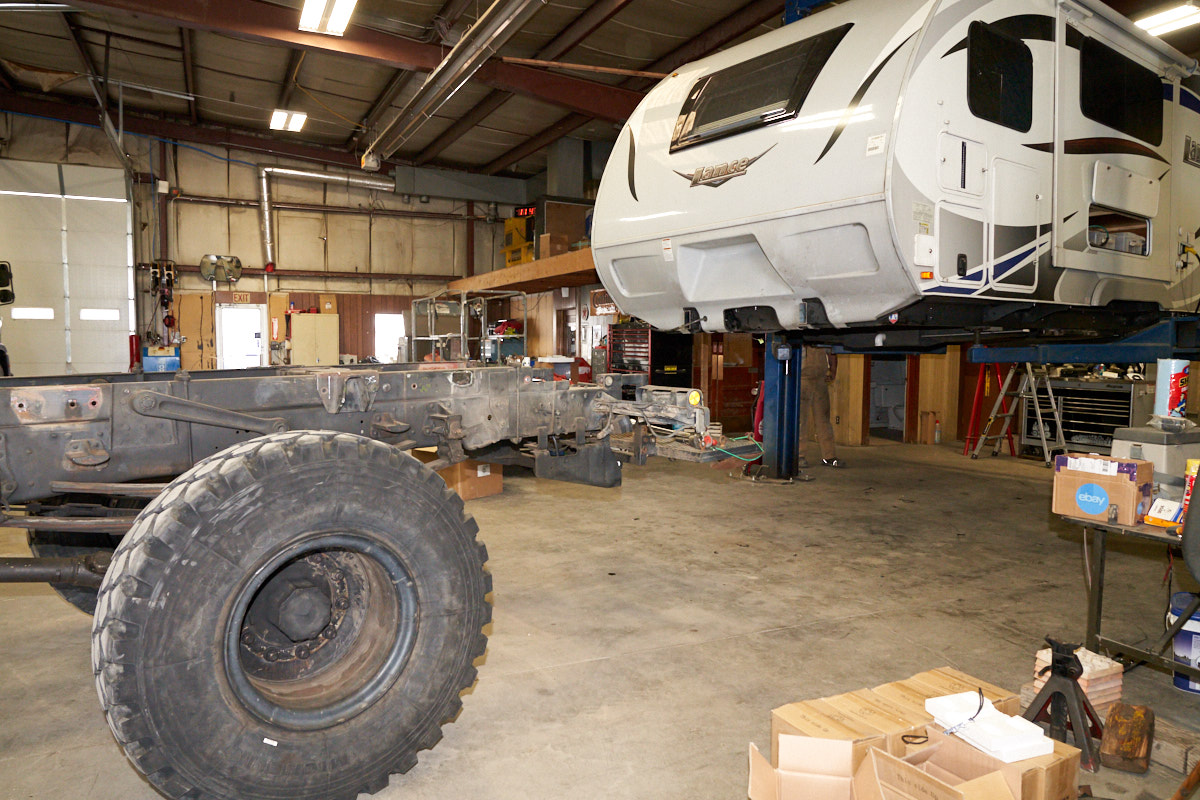
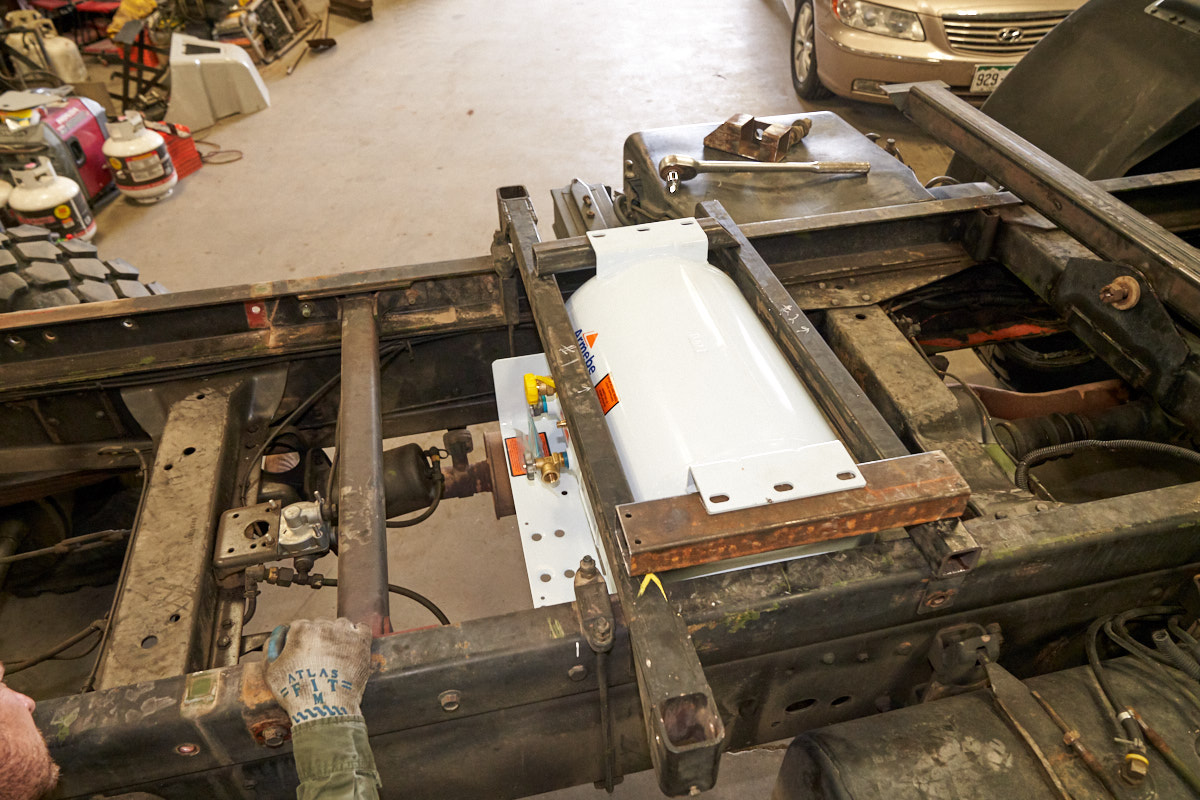
The photos below are what we saw.
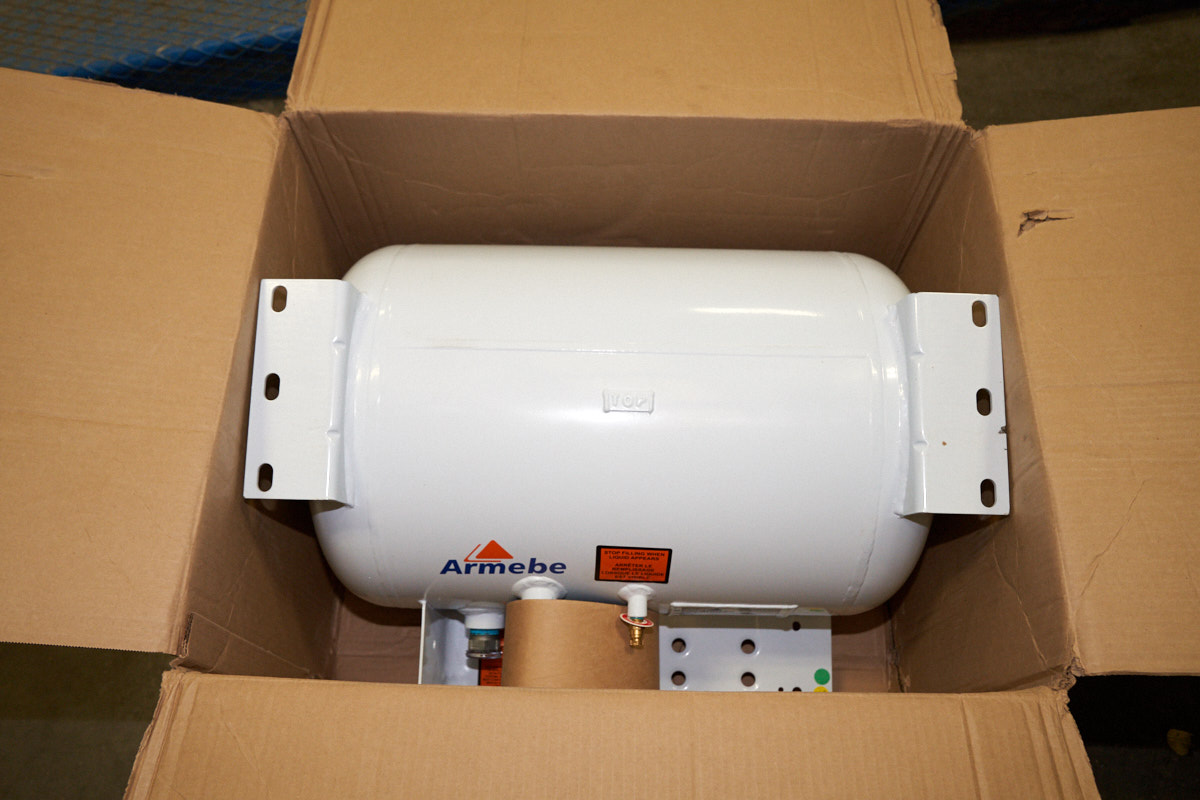
Our tank
arrived a day late and was missing the "remote fill" kit that
will allow filling the tank without removal or getting
underneath the vehicle. The missing kit is scheduled to
arrive later in the week, so we cannot complete the installation
without it. But, the missing kit did not impede our
ability to do a test-fit of the tank in the frame.
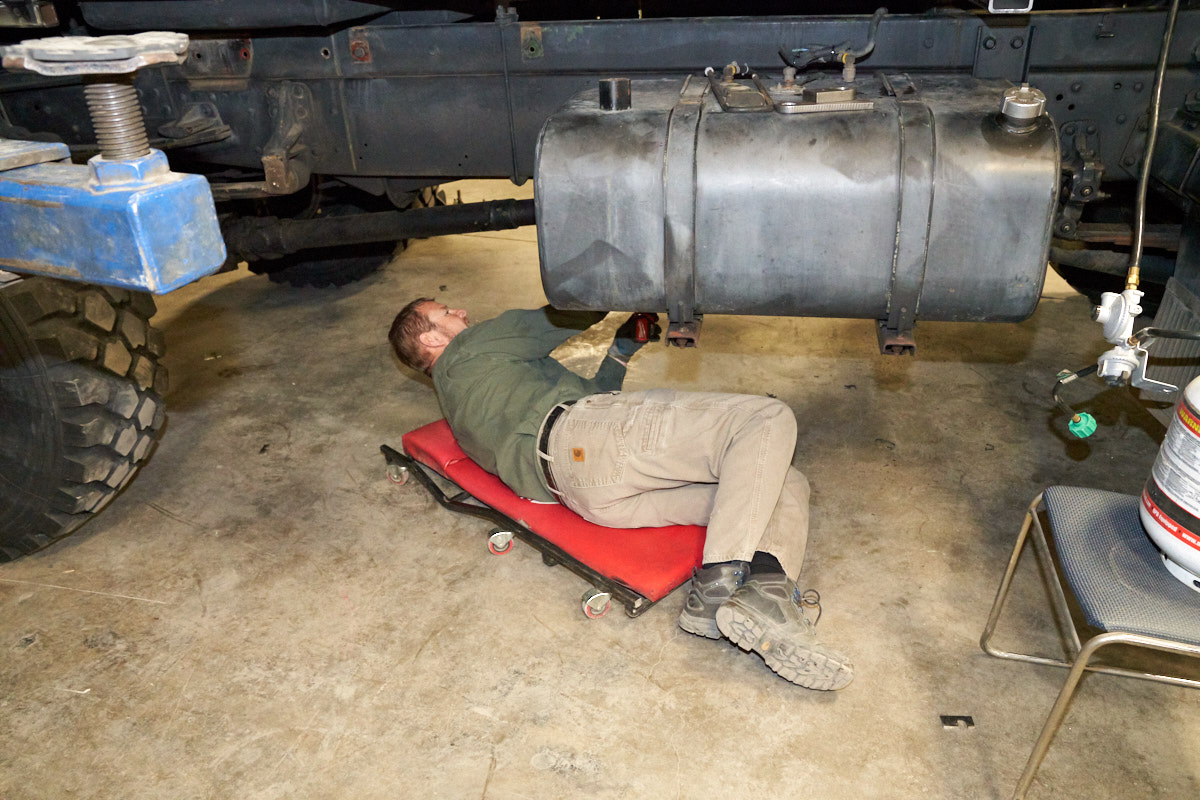
Rob
performed an additional fitting assessment. Of course,
this assessment was performed BEFORE we ordered the tank but
when purchasing online one never knows the accuracy of the
published specifications.
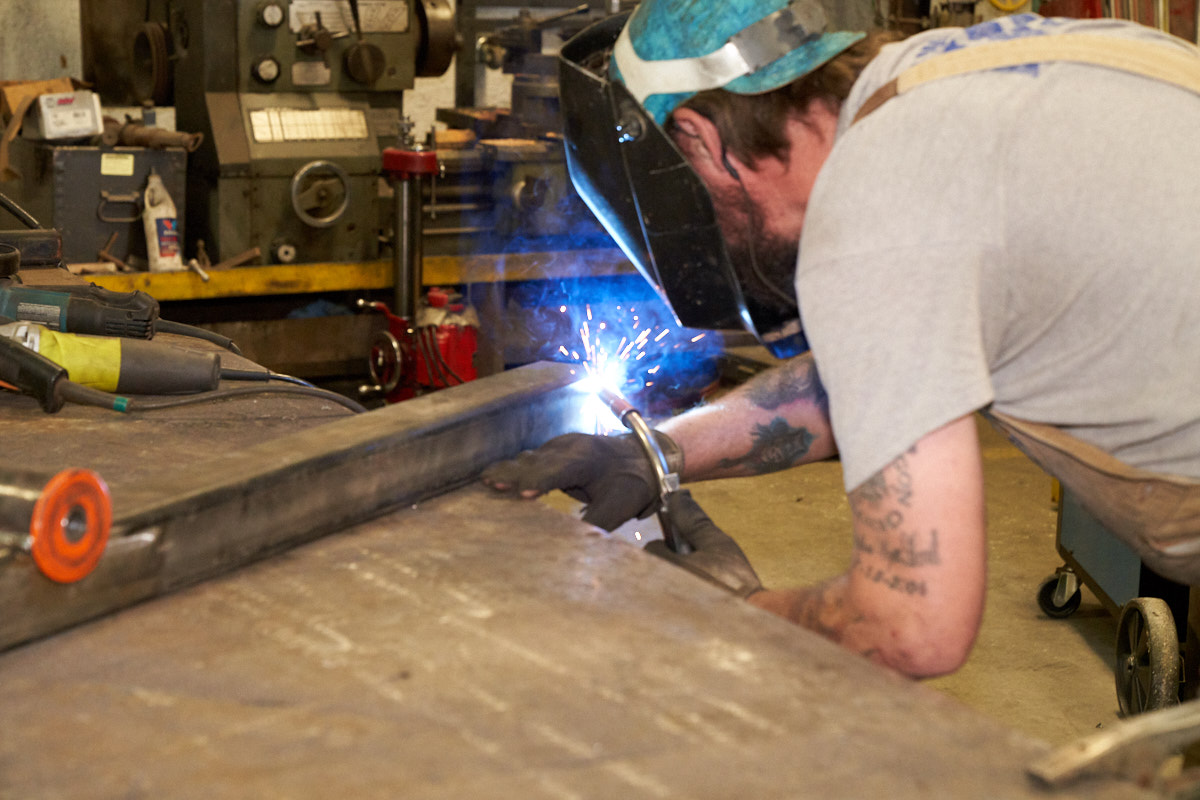
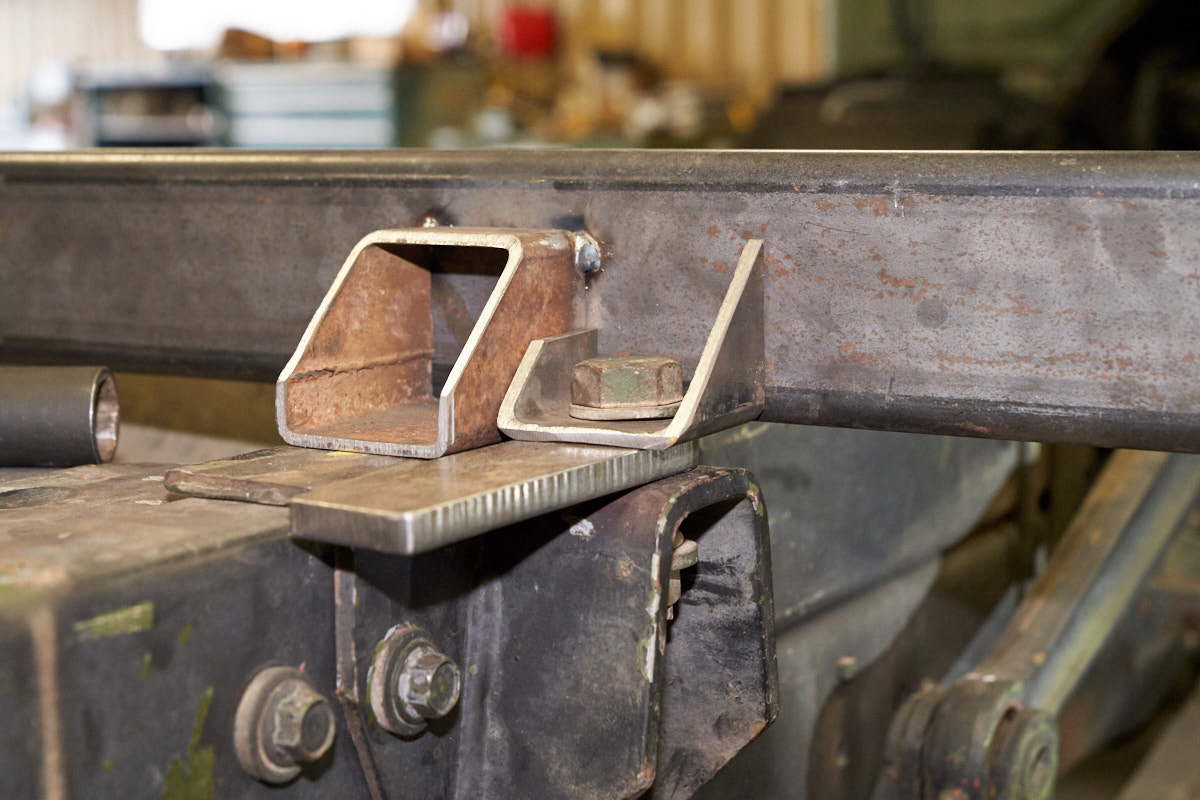
The axle
mount tabs were trimmed in anticipation of welding.
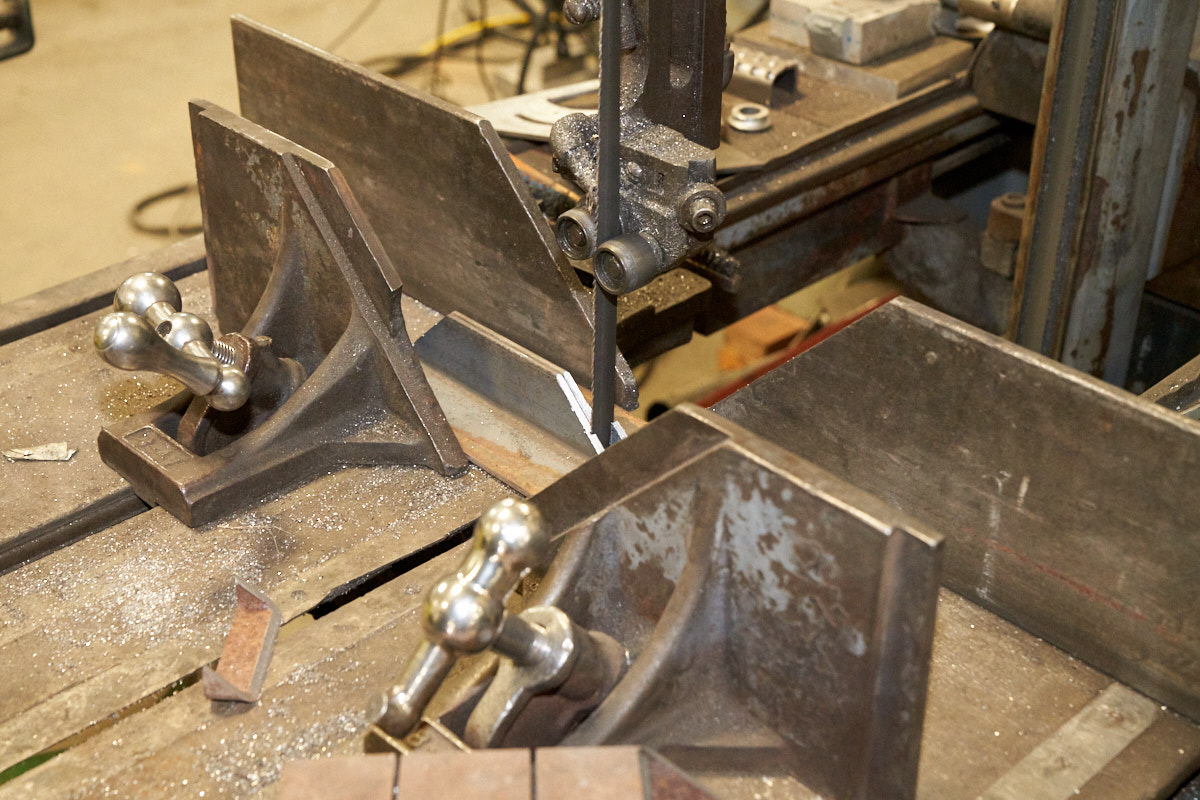
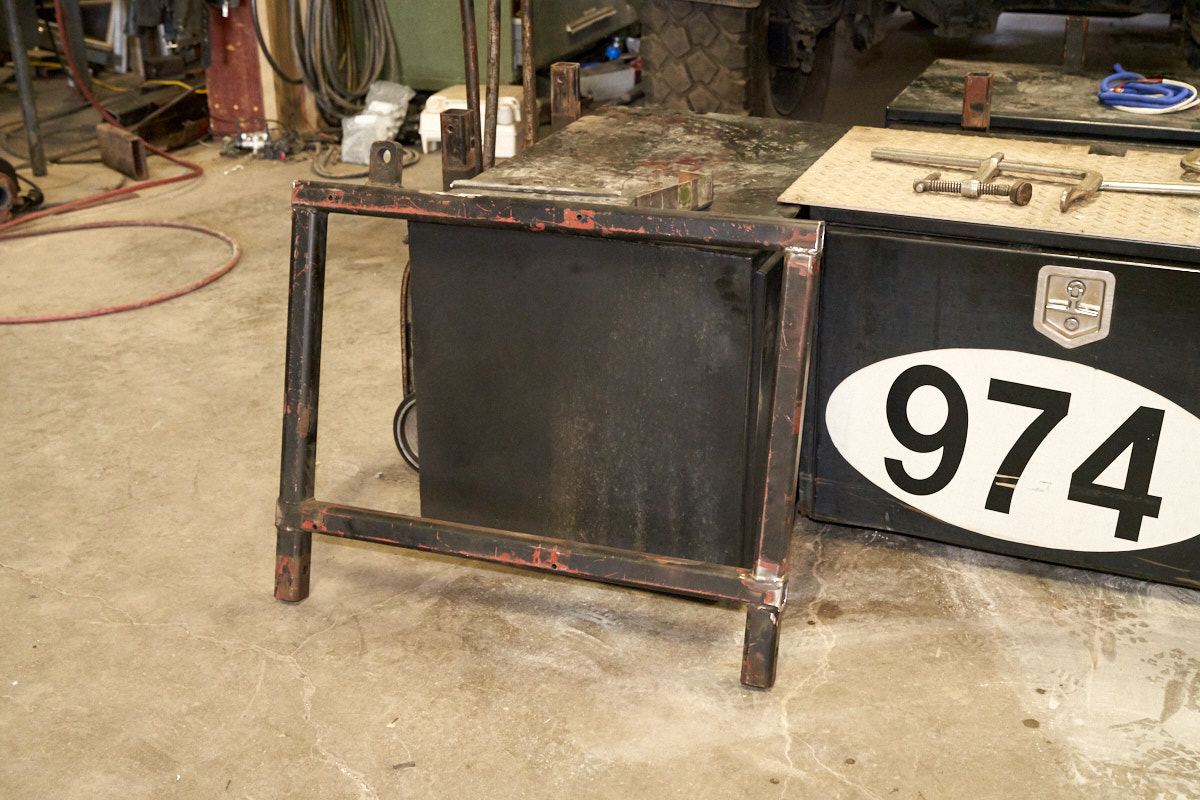
Additional
brackets for the front sub-frame member were fabricated.
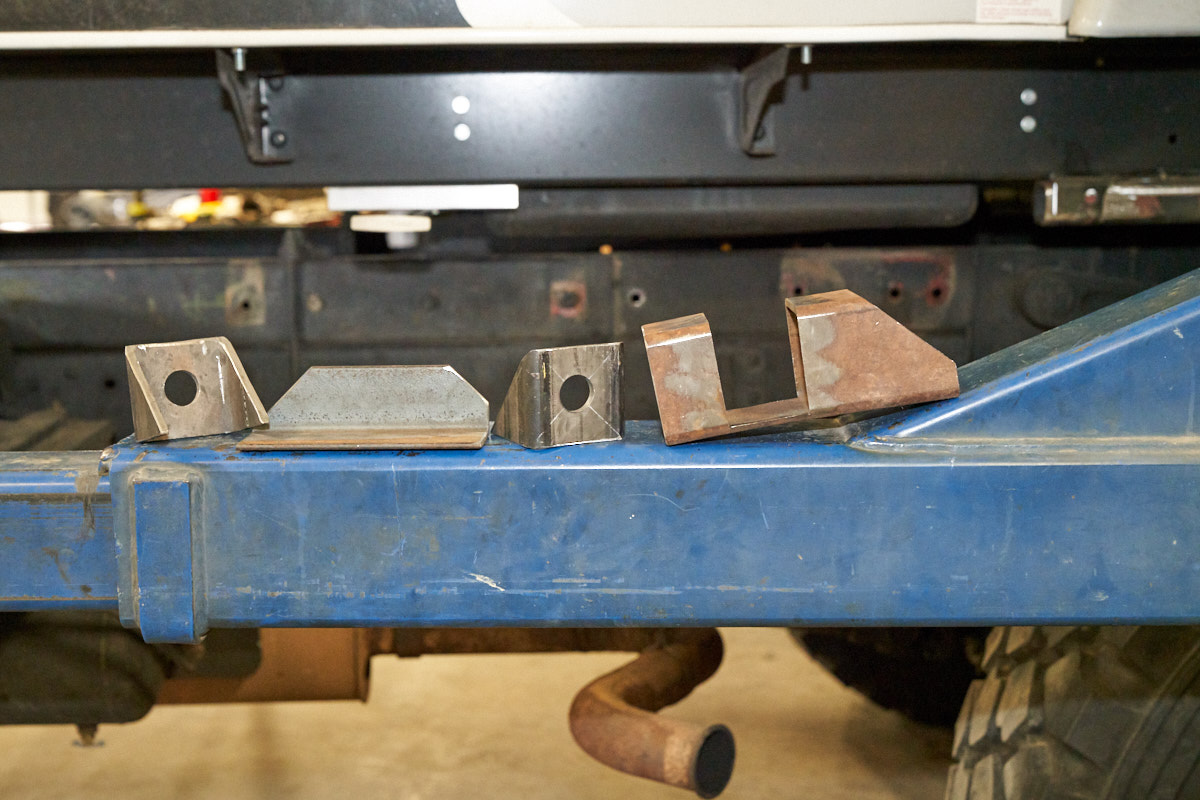
The
extra components were laid out for inspection. The
triangular pieces are the spring bolt tabs. The odd-shaped
piece is the wear surface and gusset for the cross member.
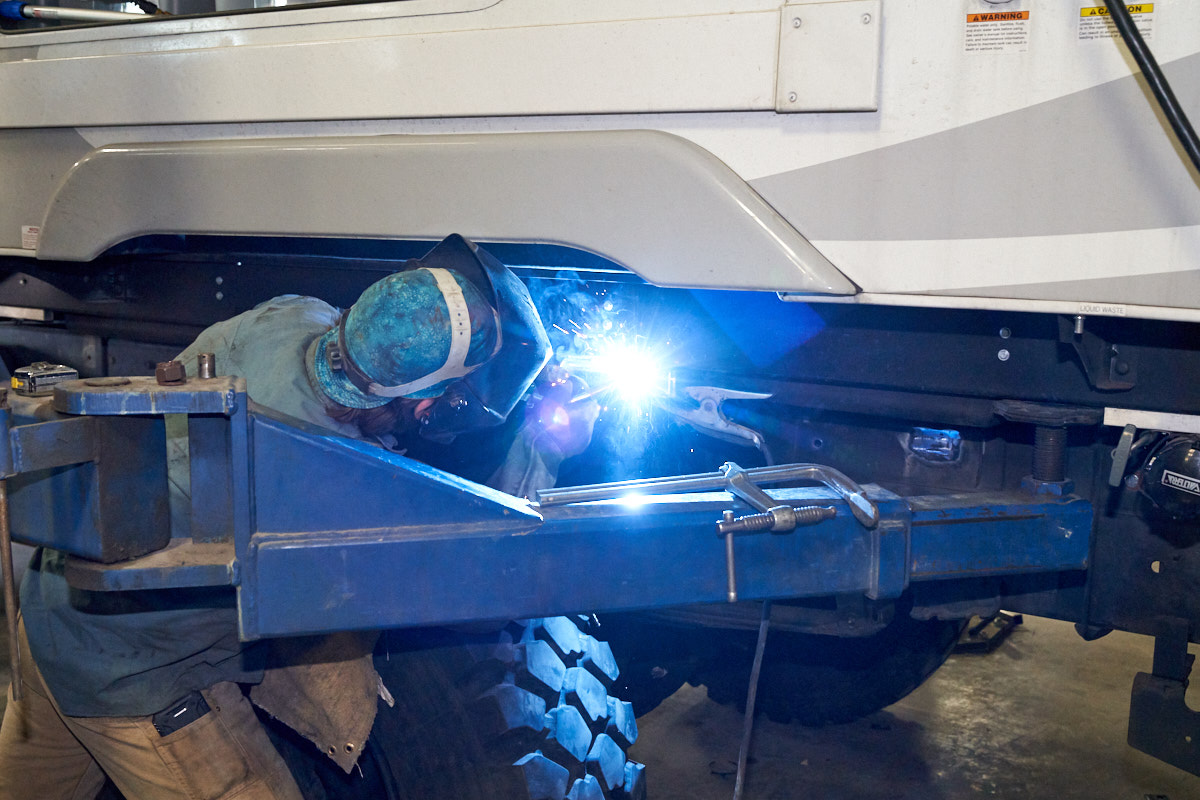
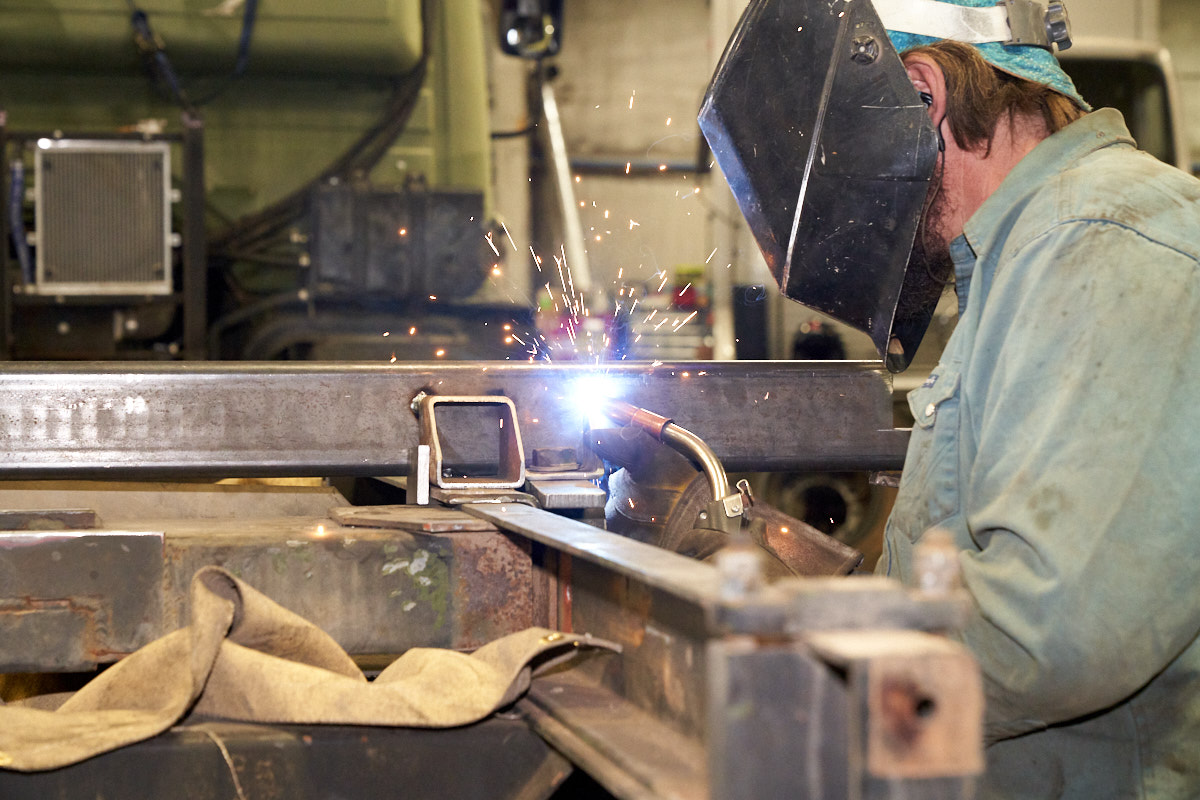
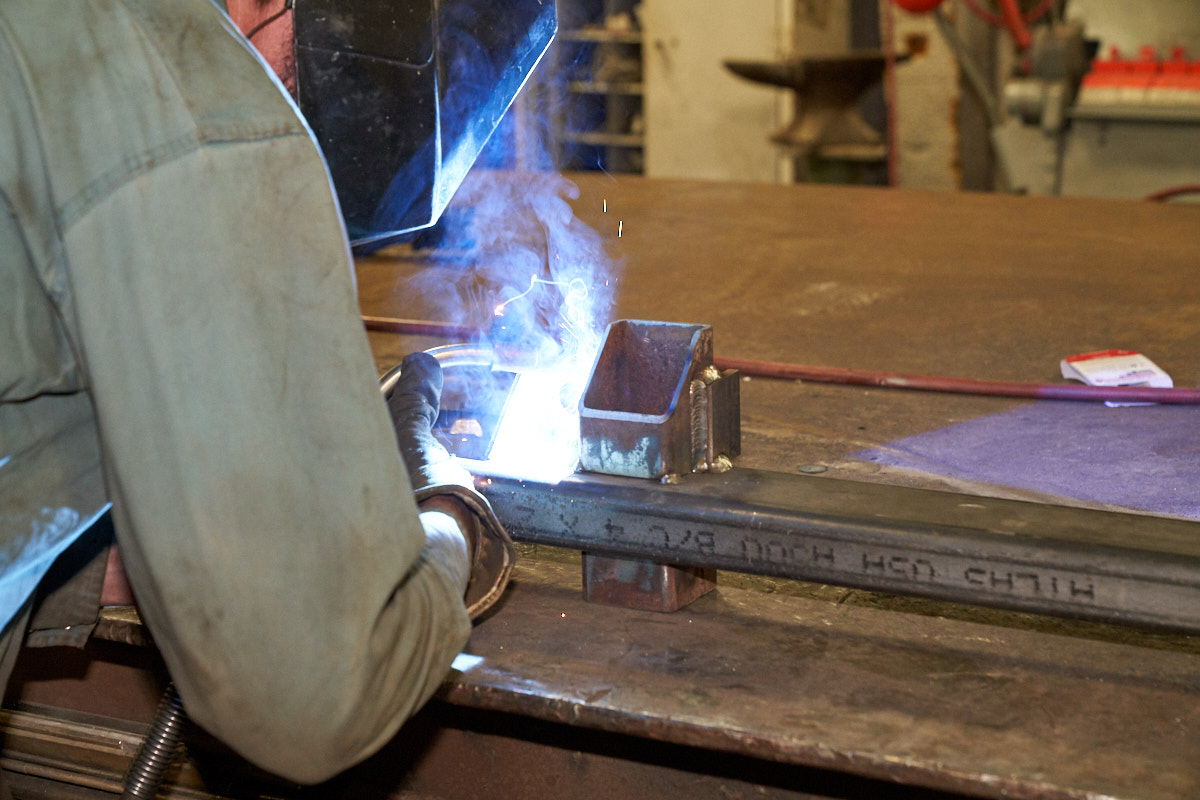
Trailer
axle mounting tabs were tacked to the 2x2 support beams.
The tabs
were tacked front and rear.
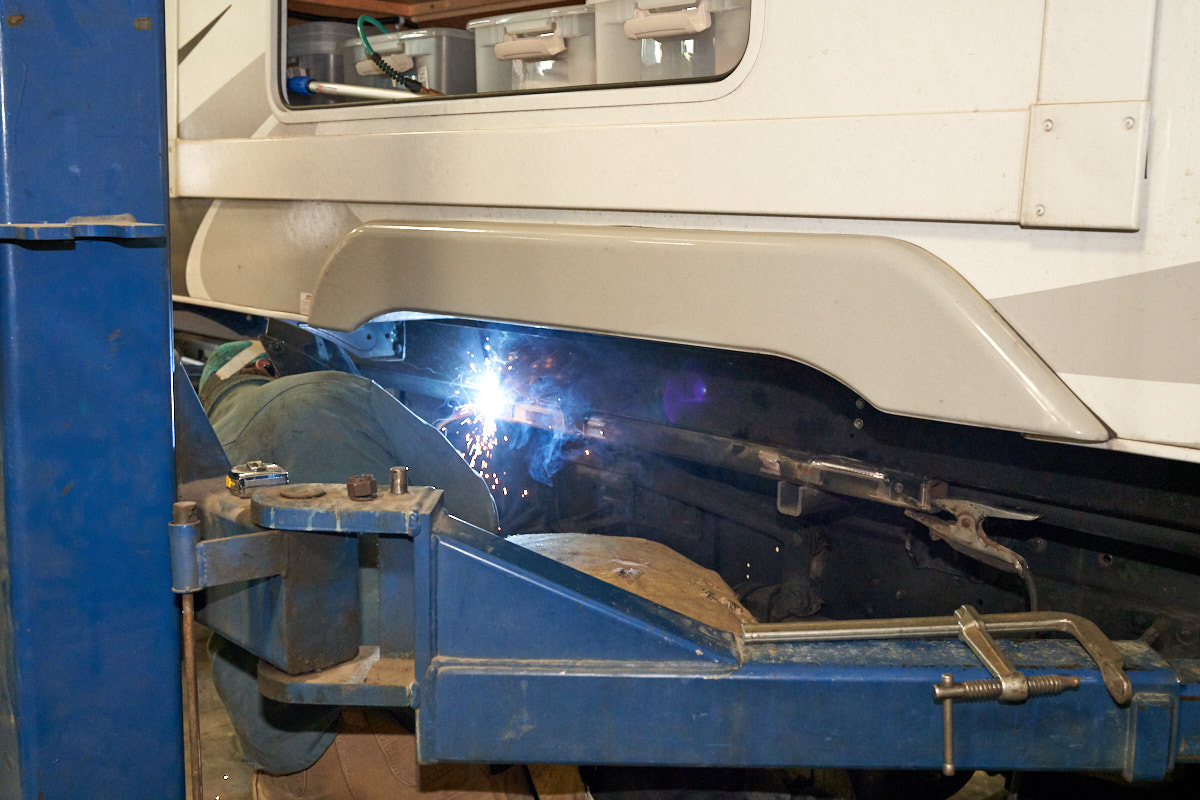
The
front cross member tabs were tacked as well.
Once the
mating locations were noted and constrained by the tack welds,
the truck was rolled forward to provide easier access between
the frame rails.
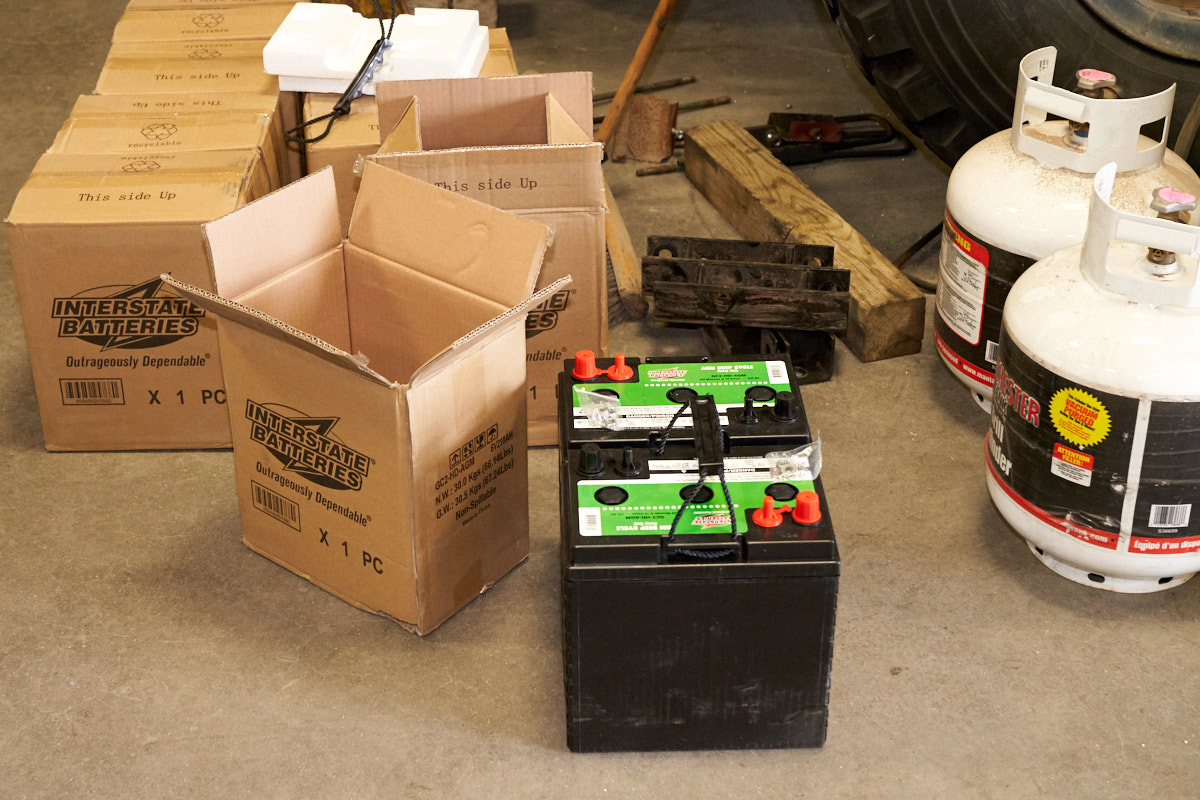
Our 8
GC-2 AGM batteries also arrived. This 500 pounds of lead
will provide us with about 1000 amp-hours of electrical
capacity.
We are
planning to mount the battery box in the pocket between the rear
frame rails behind the axle.
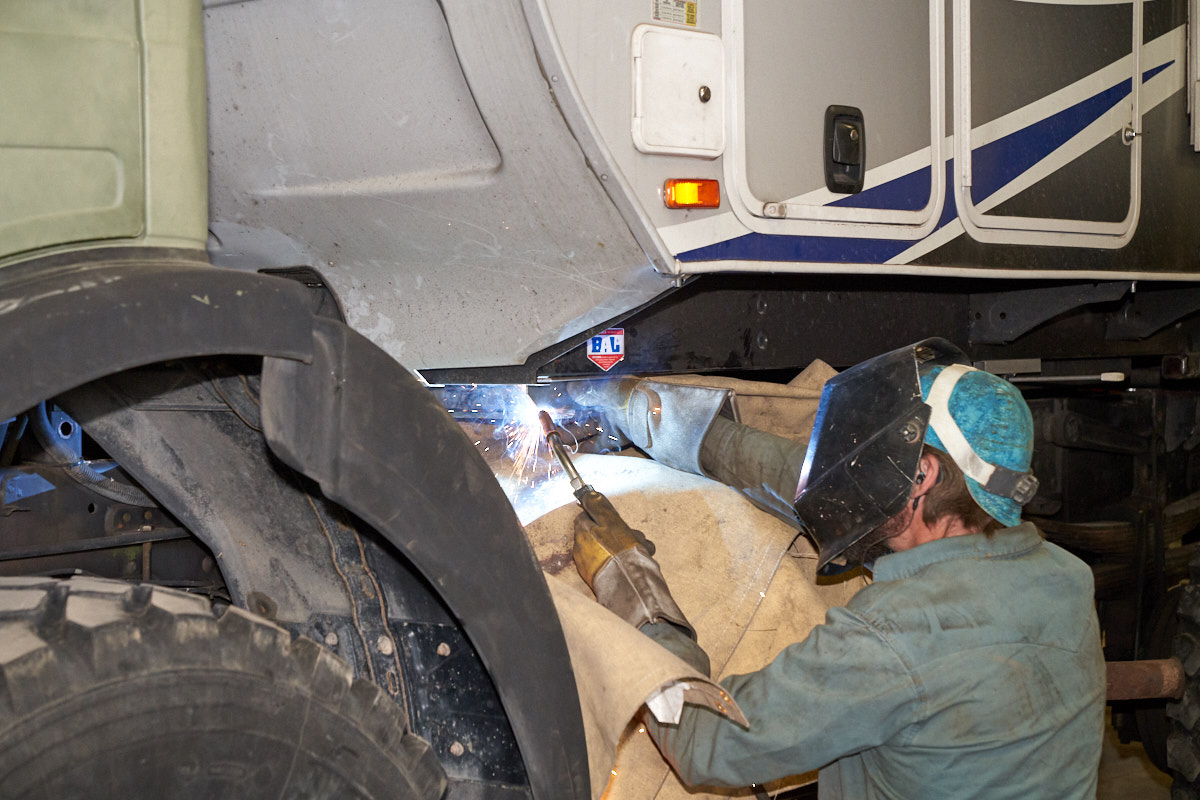
We
decided to use the old tool box mounting members as part of the
propane mount. The left member was reattached to its
previous position. The right member will need some holes
drilled in the frame to complete the mounting.
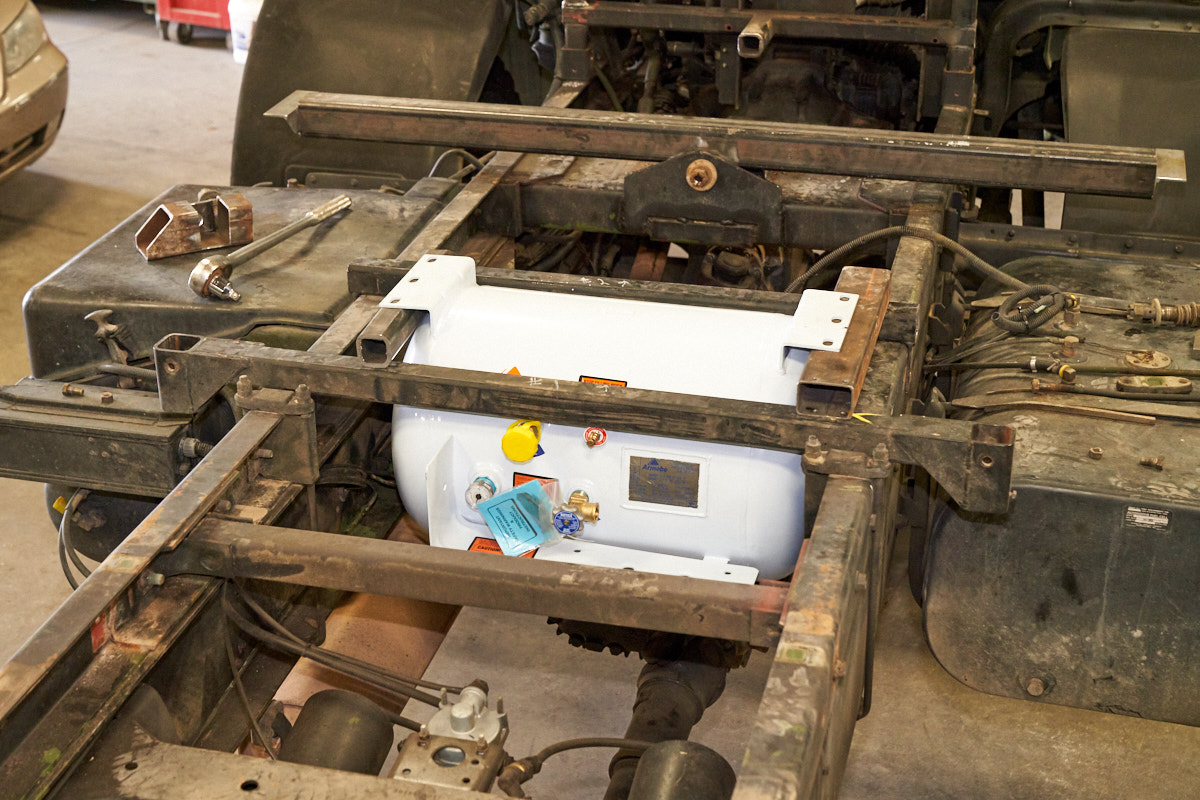
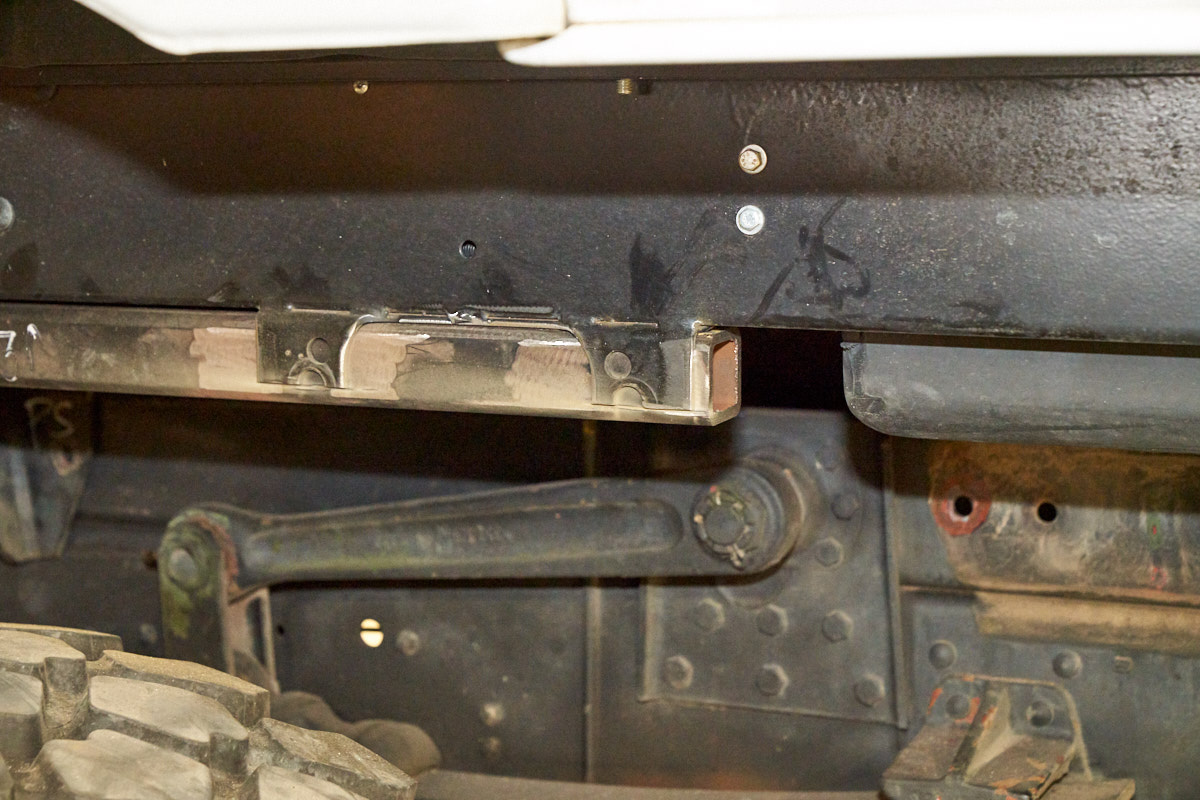
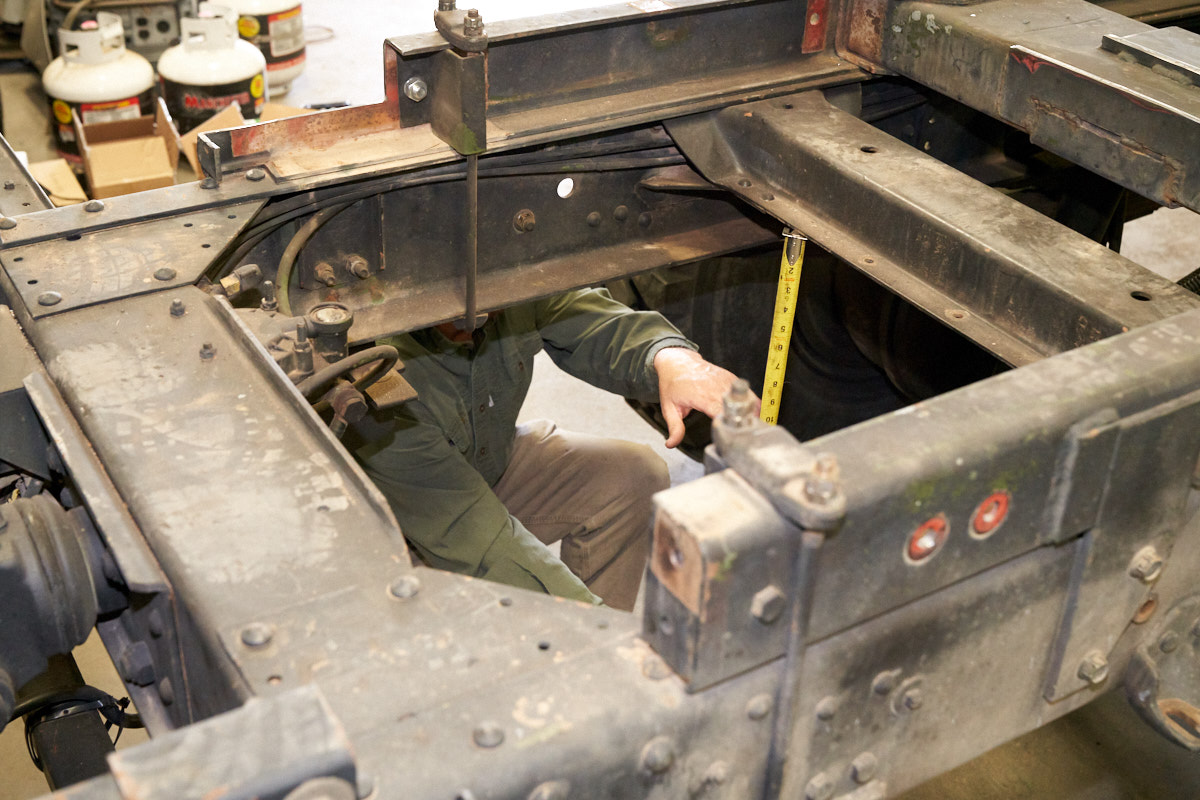
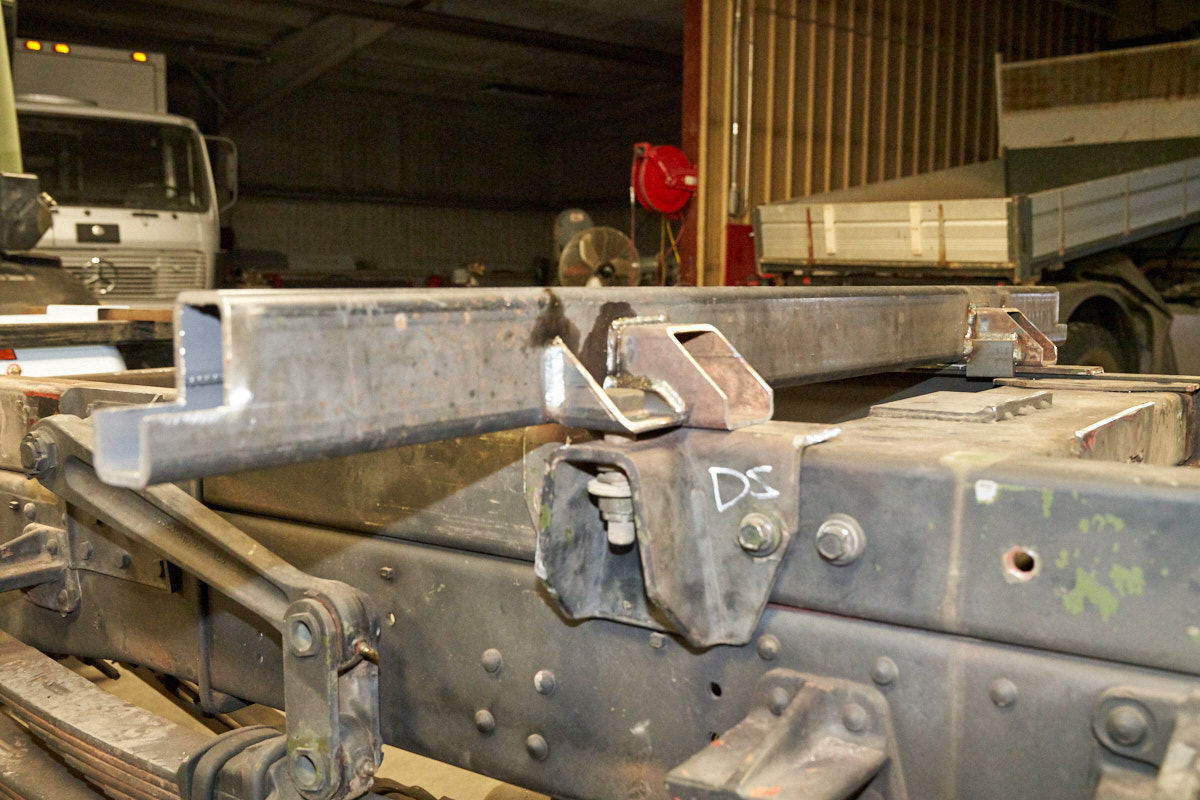
The
test-fit was needed as we discovered some potential
complications due to our chosen mounting location. The
solution will be to use 1X2" material for the support beams
rather than 2x2". The photo above shows the 2 inch beams.


| Previous Adventure | ||
| Trip Home Page |
Photos and Text Copyright Bill Caid 2019, all rights
reserved.
For your enjoyment only, not for commercial use.