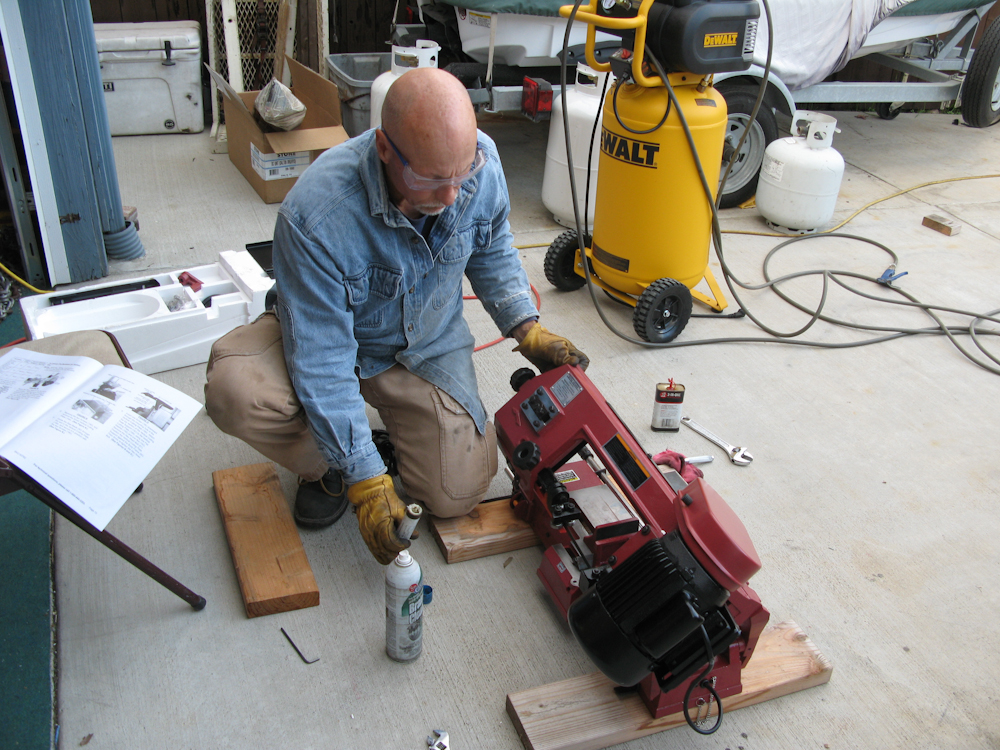
The photos below are what we saw.
The
saw required some assembly and as it turns out, some mechanical re-work
as well. This "made-in-China" saw had some mechanical
interference issues that I resolved with a die grinder and a
file. Once the interferences were addressed, I did a test cut to
see if the saw would do what was required. The answer was "yes",
if you were careful.
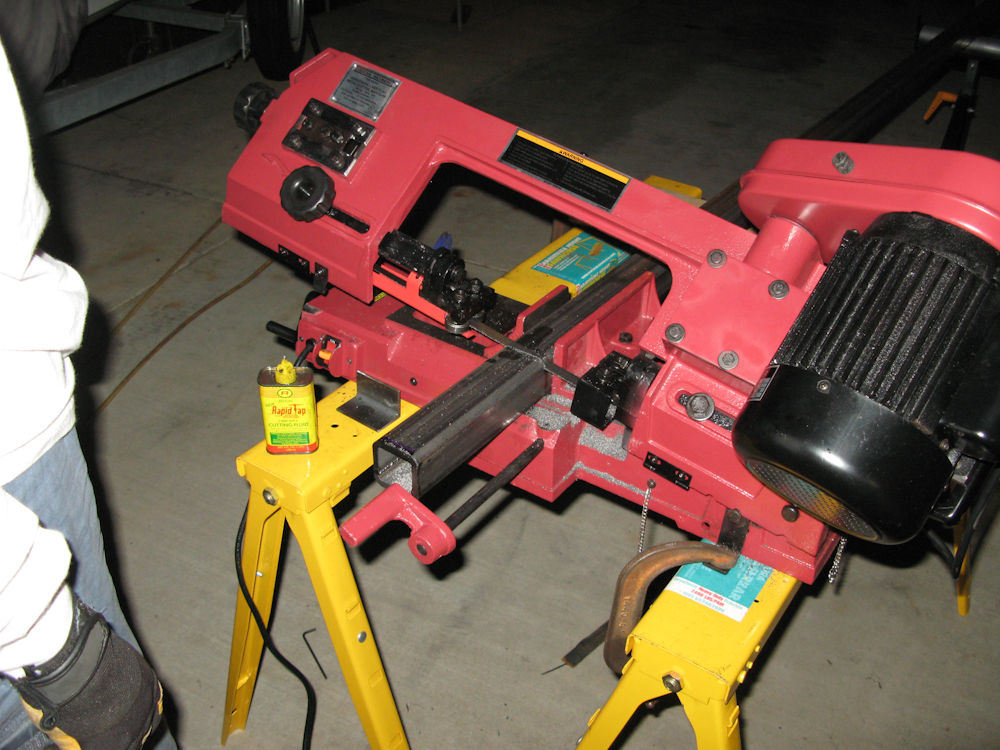
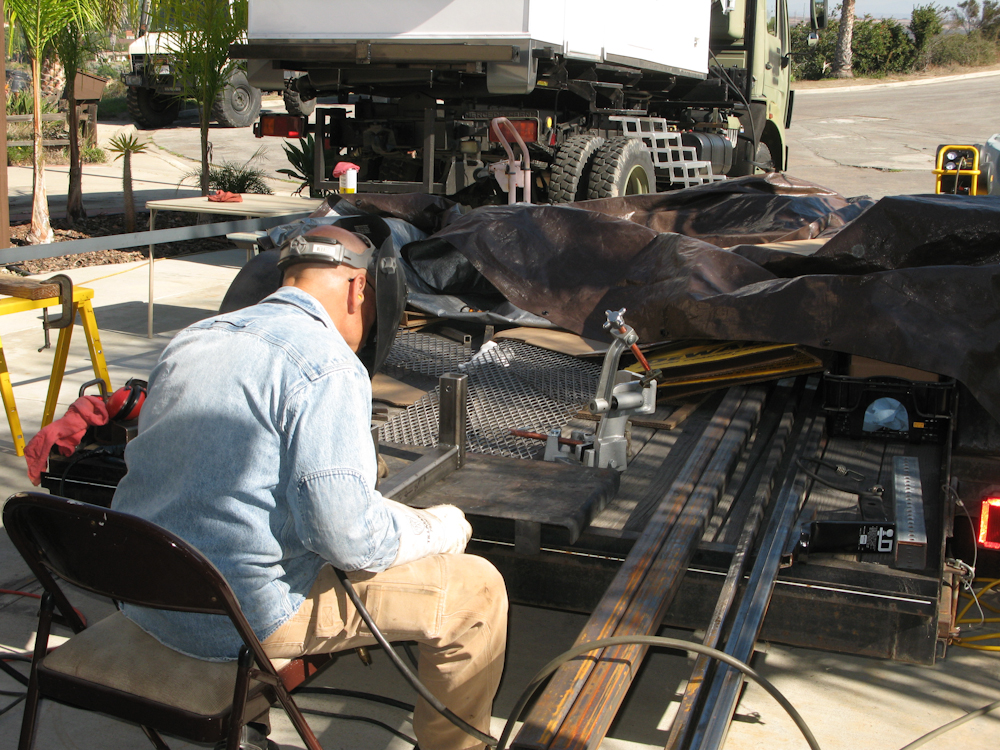
We
mounted the saw on some steel saw horses and got to work cutting some
2x2x1/4" square tubing to be used in the propane mounting rack.
The saw cut the thick wall tubing without any issues, albeit at a slow
rate.
The
main support members were cut from the tubing and were then welded to
the descender support tubes. Above, the members are test fit on
the 1017 frame.
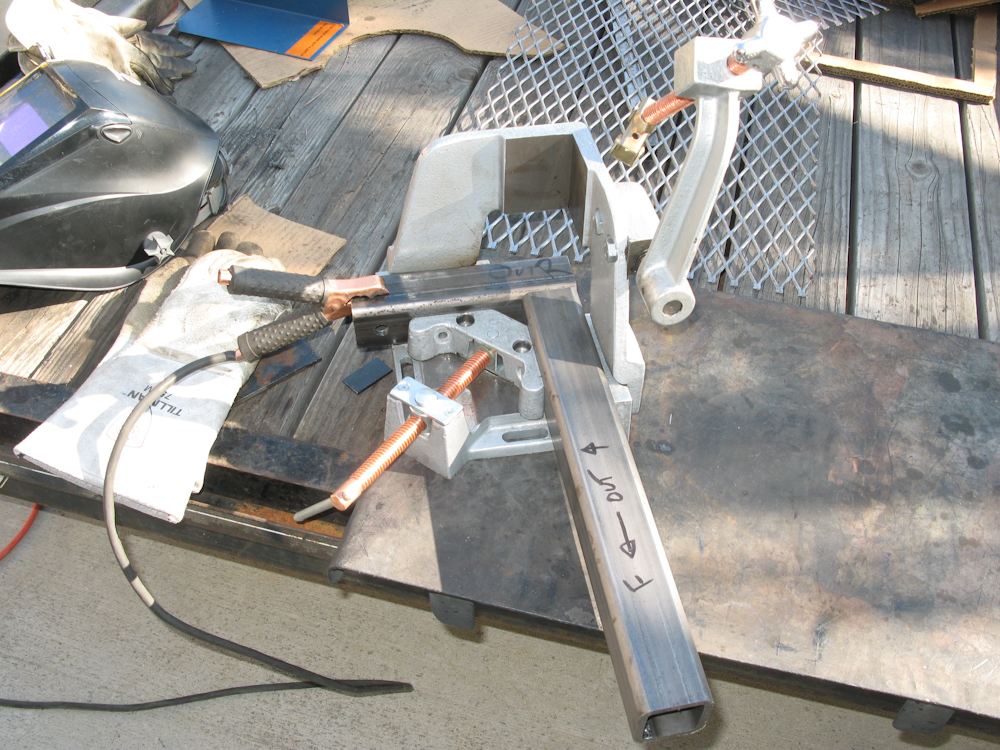
On
my last visit to the steel store, I purchased a 3D corner jig that
should greatly assist in making the corners square. Above,
components of the descender assembly are put in the corner jig prior to
tack-welding.
Once
the descenders were verified to fit as expected, they were "sewn-up"
and hard-welded together. I have been using my trailer as my work
bench as there is no space in my garage. The trailer is a
reasonable substitute for a regular shop unless the weather turns
against you, which it did.
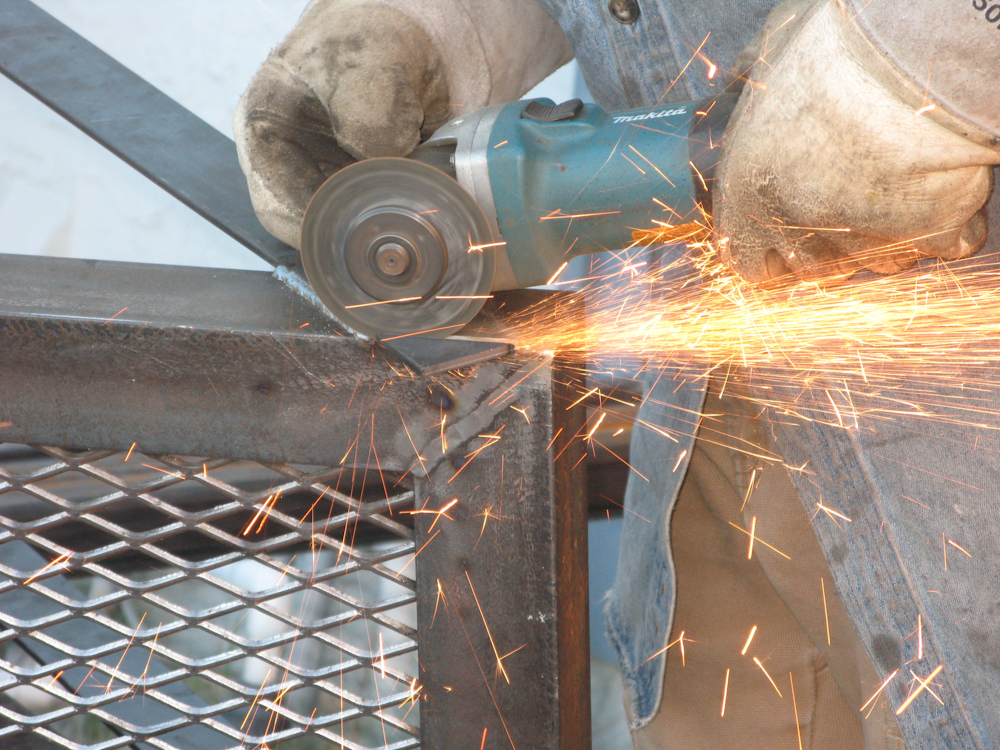
The
descender assembly was welded to the bottom tray and support straps
were added. Above, a support strap is cut after welding.
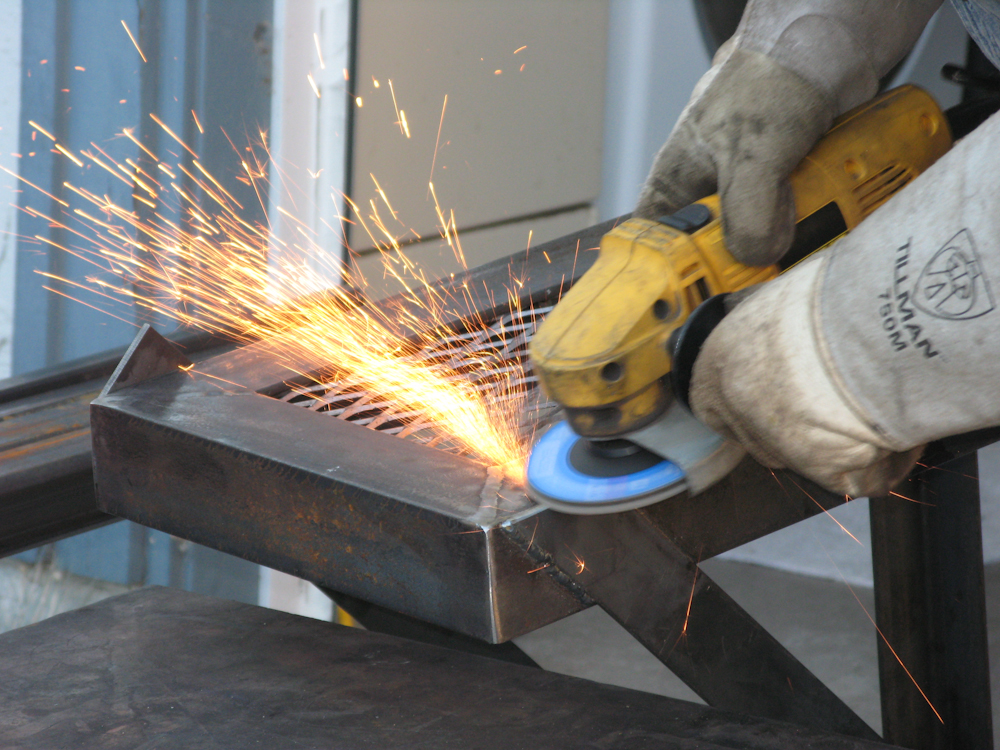
The
cut area is ground smooth prior to welding the exposed edge.
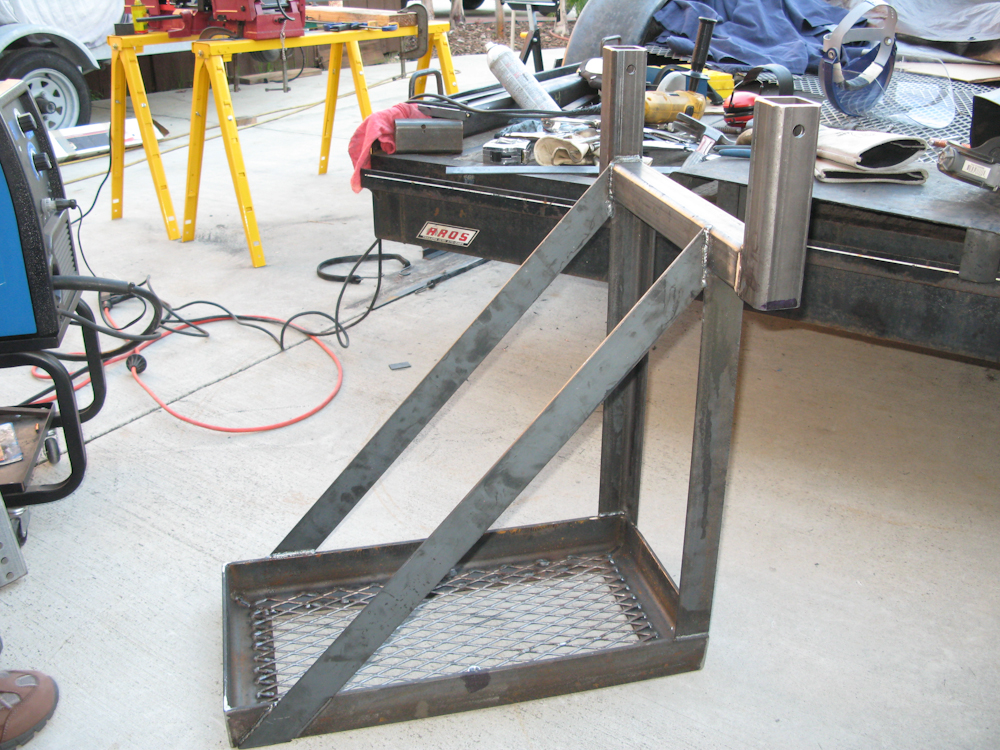
The
finished rack ready to be painted.
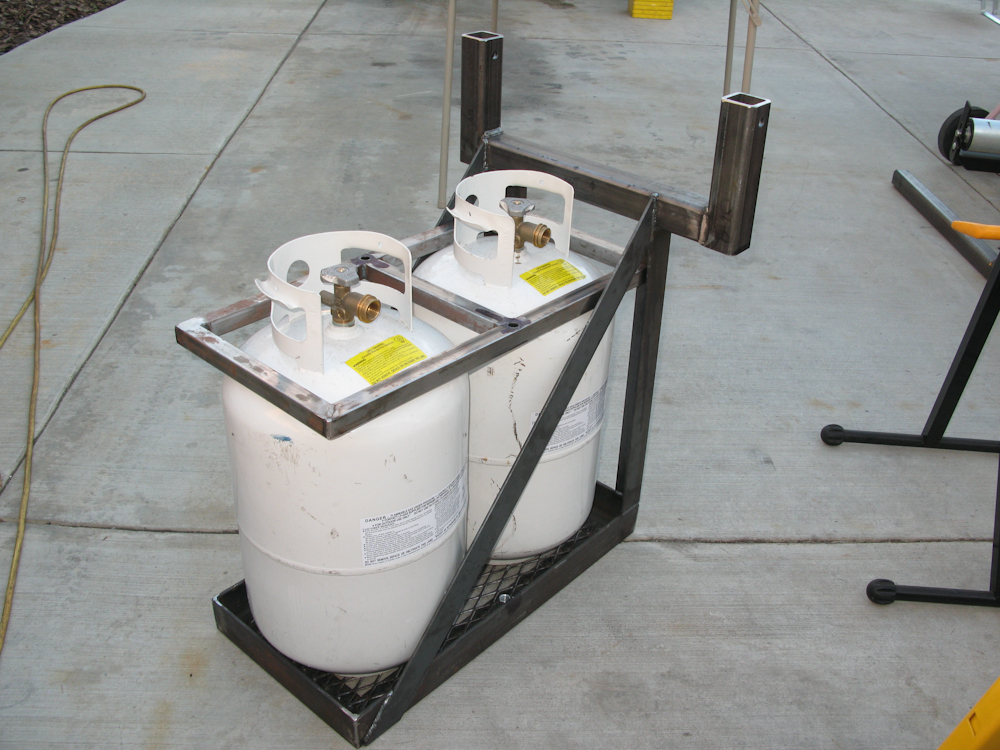
With
propane bottles and the top, the mounting geometry becomes
clearer. The asymmetry is due to required clearance from existing
components on the 1017.
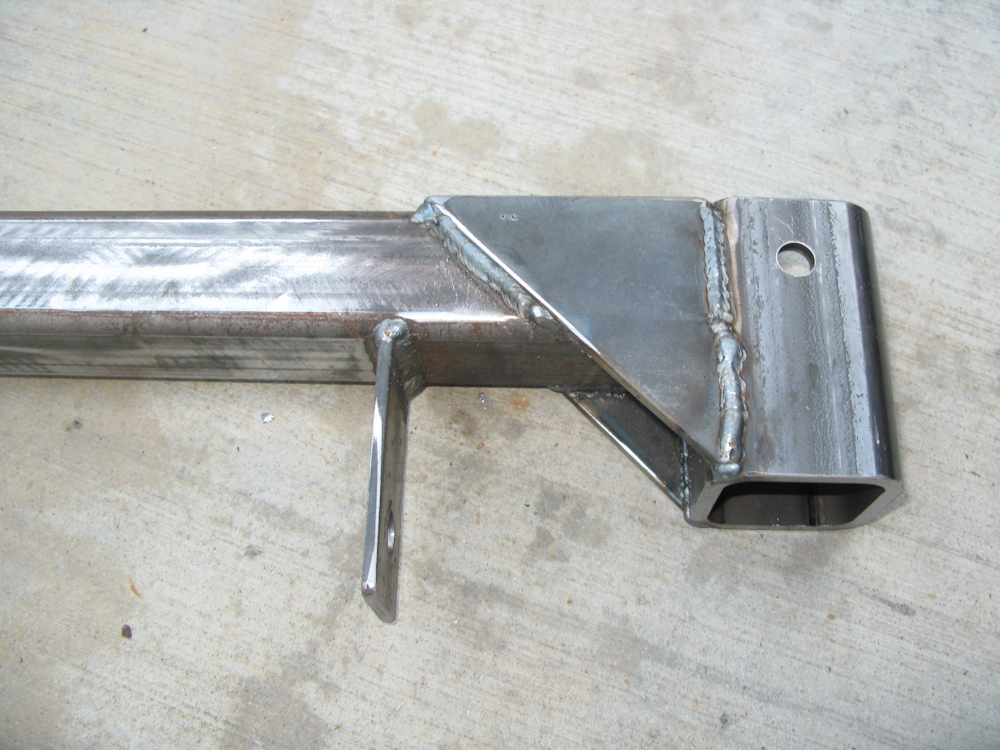
The
top frame members were reinforced with 1/4" gussets and mounting tabs
were added. When the welding was completed, Kathleen took them to
the "paint shop" in the back yard.
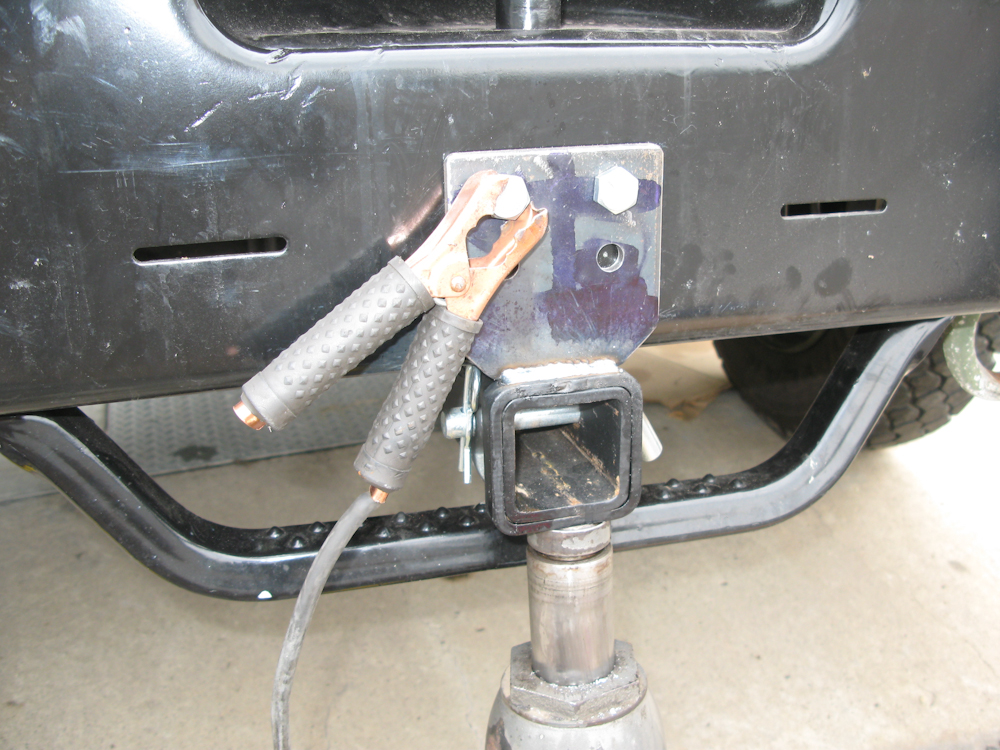
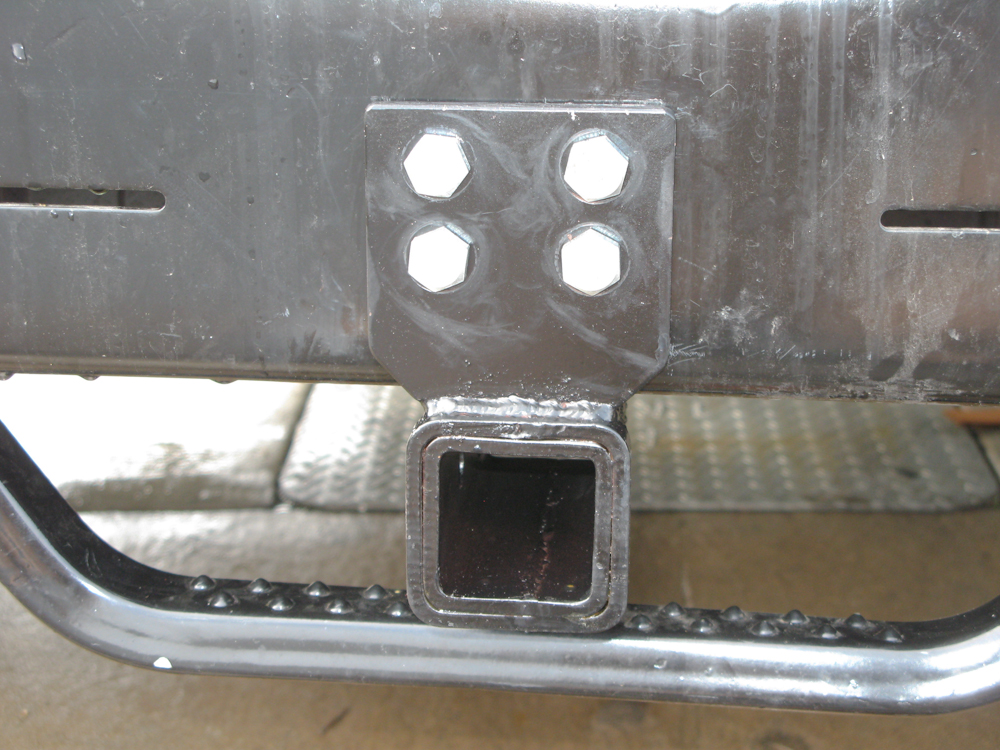
The
front trailer hitch needed to be beefed-up, so a 4"x4" plate was added
to spread the load over the front face of the bumper.
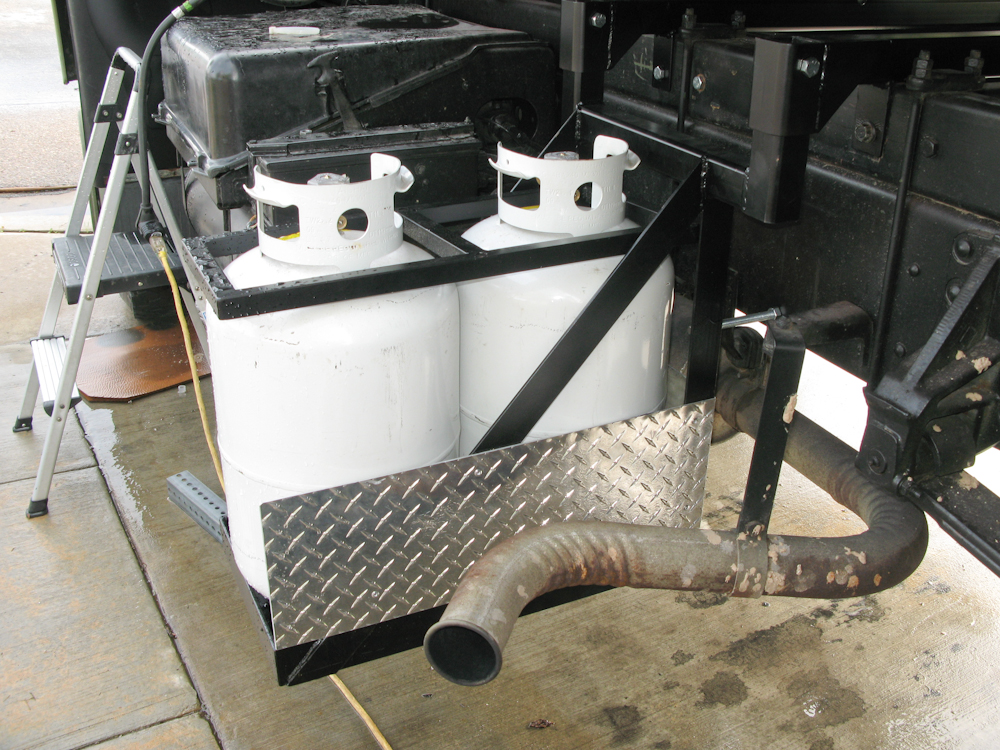
After
the mounting frame members were painted and installed, heat shields
were added to the outside of the frame using polished diamond plate.
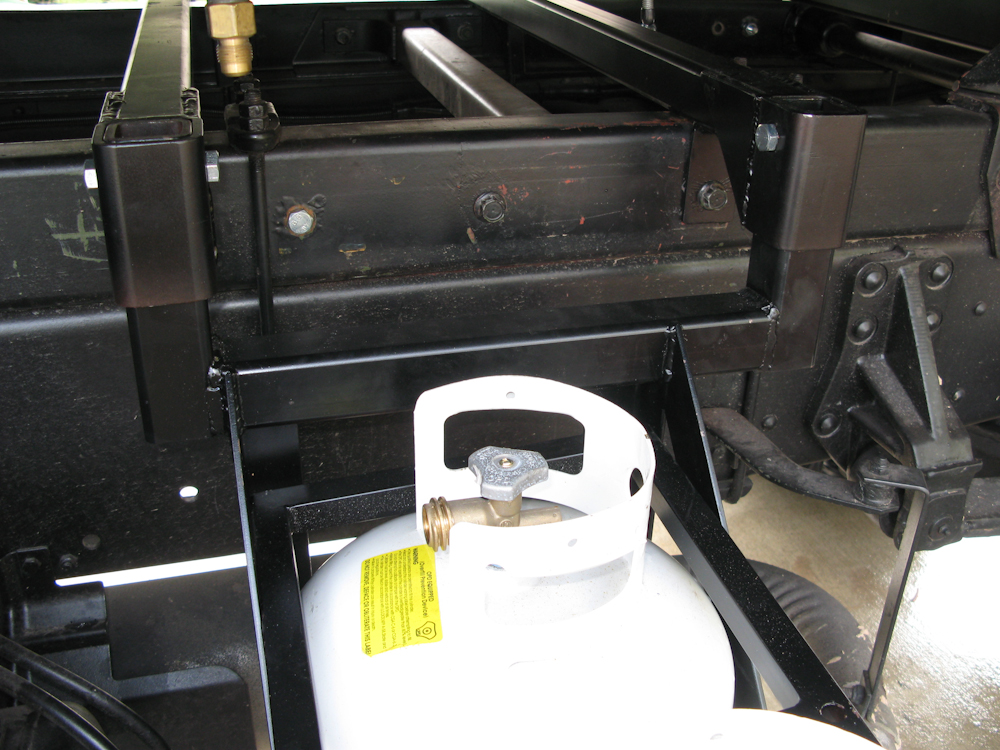
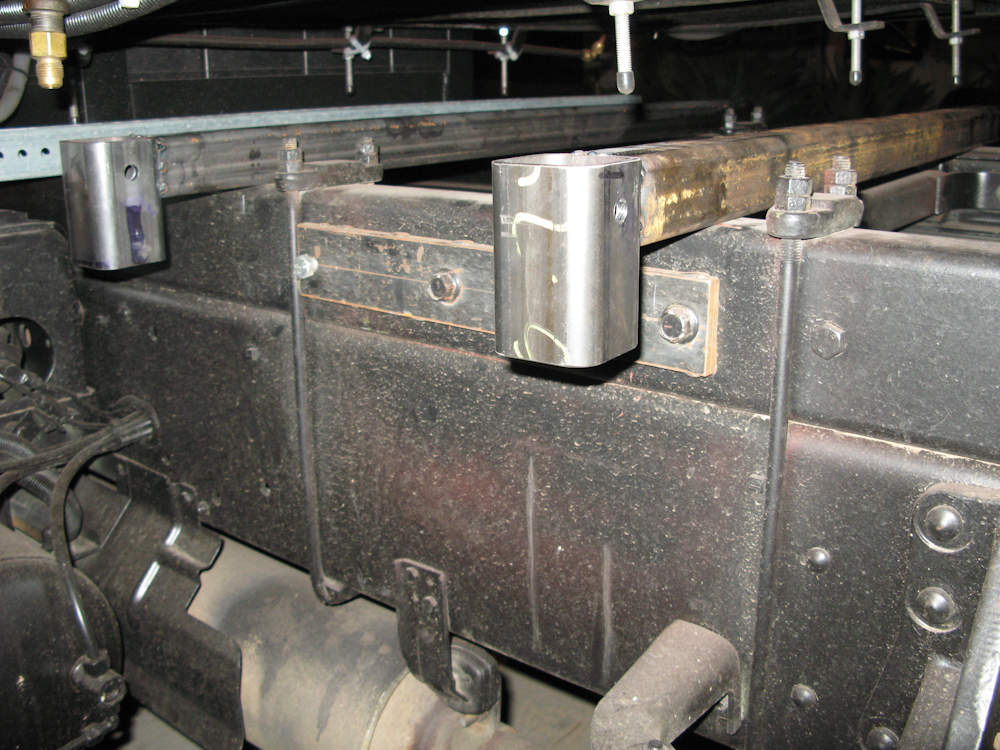
The
reason for the asymmetry in the descender frame becomes apparent in the
photo above. We had to design around the mounting hanger for the
exhaust to make use of the available space.
Once
the paint on the front hitch was dry it was re-installed on the front
bumper.
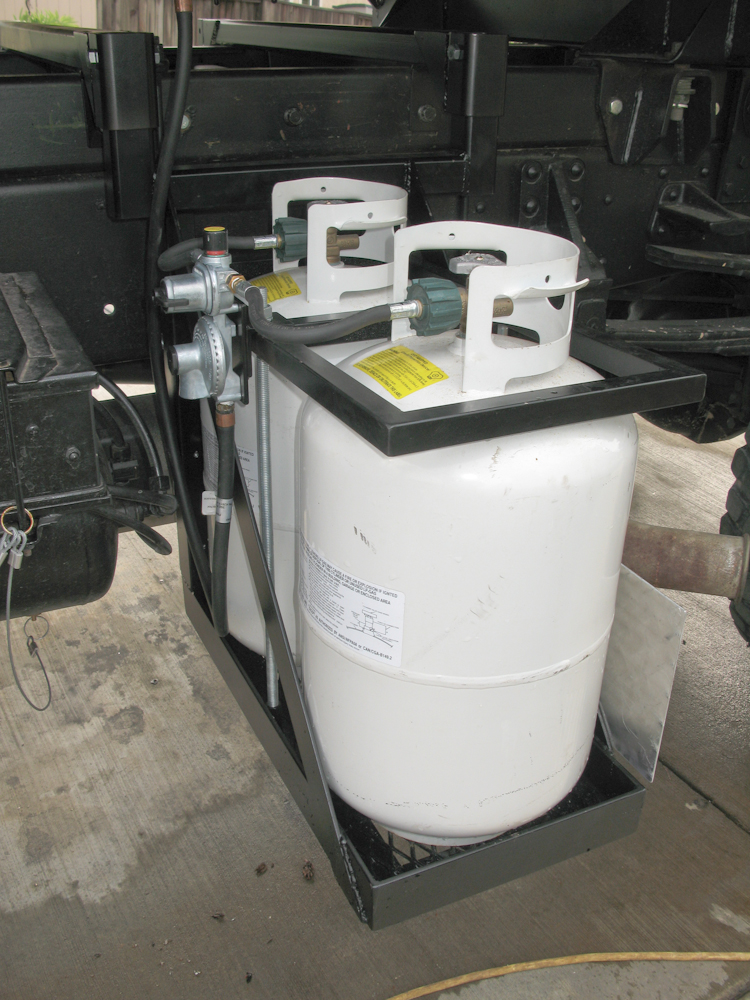
A
mounting plate for the propane regulator was fabricated, painted and
installed.
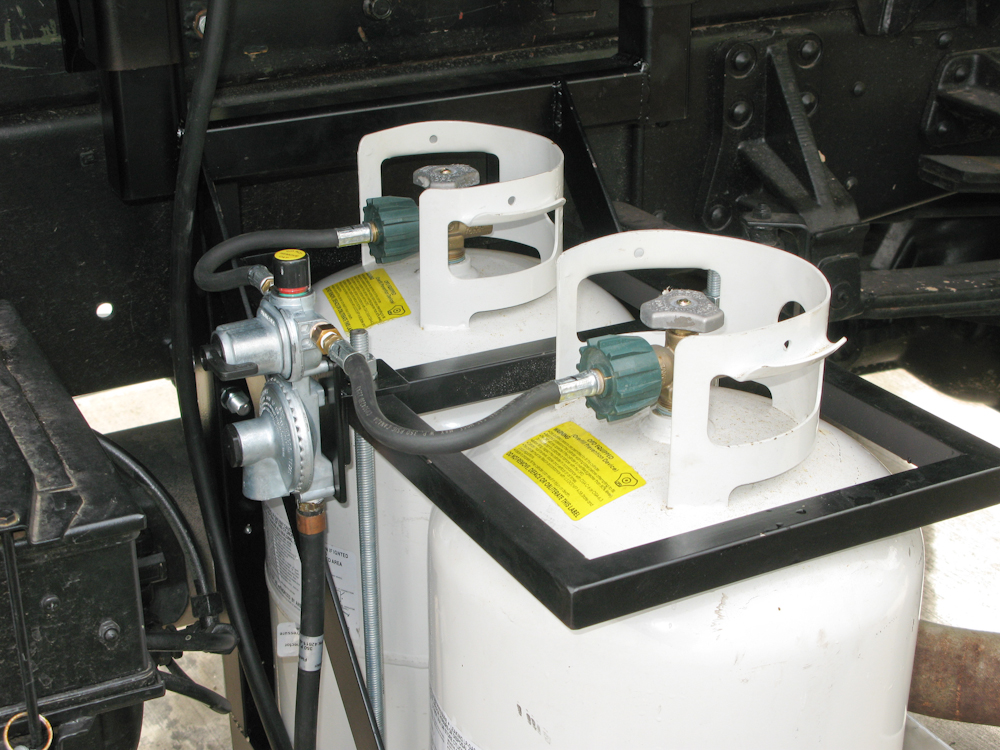
Details
of the regulator mounting can be seen in the photo above.
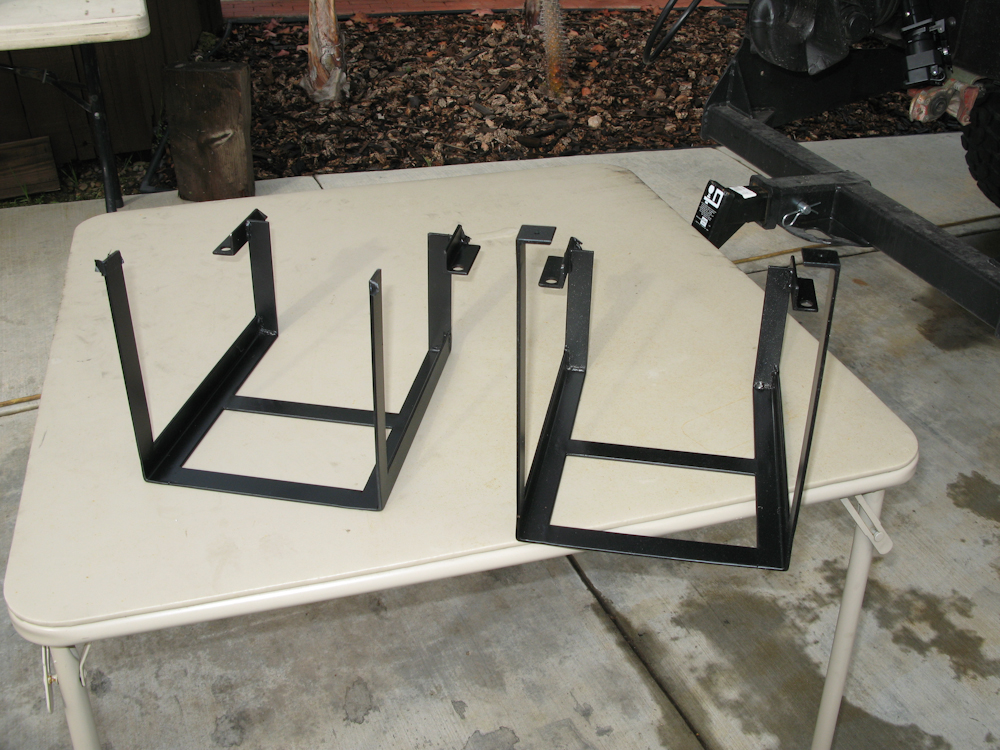
Mounting
frames for our leveling blocks were fabricated and painted.
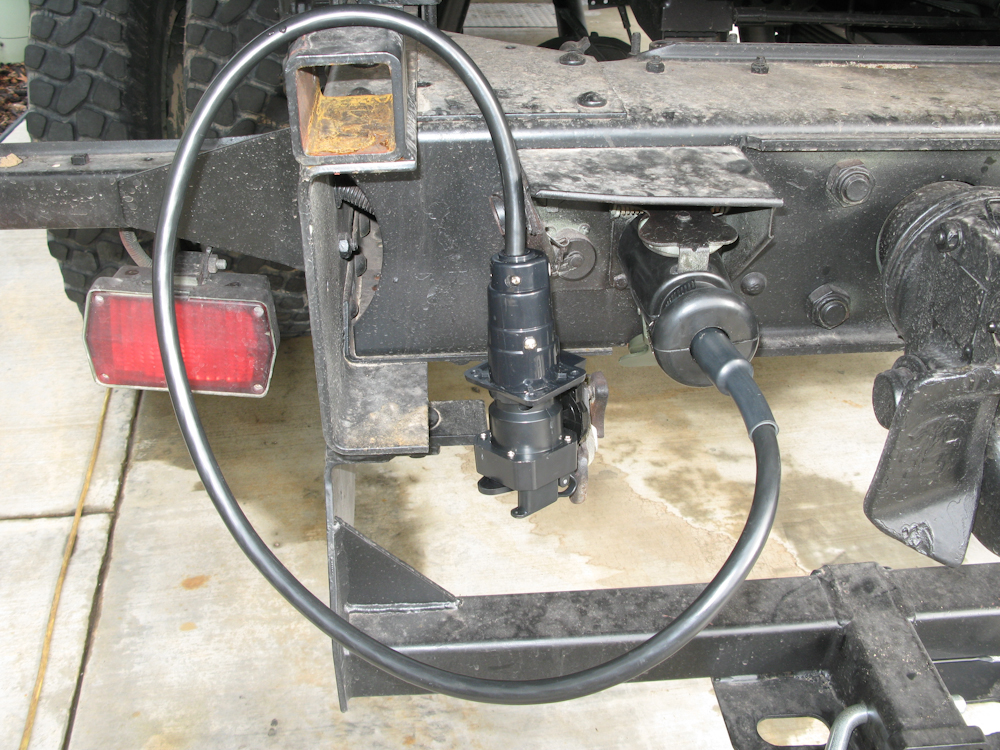
Amazingly,
online I found an adapter that maps a 24-pin NATO trailer hitch to a
7-blade RV connector. At NAPA, I found an adapter that maps
7-blade RV to both 6-pin and 4-pin trailer connectors. I will,
however, have to change the lighting on the trailer to LEDs that can
tolerate the 24 volts that the 1017 uses.
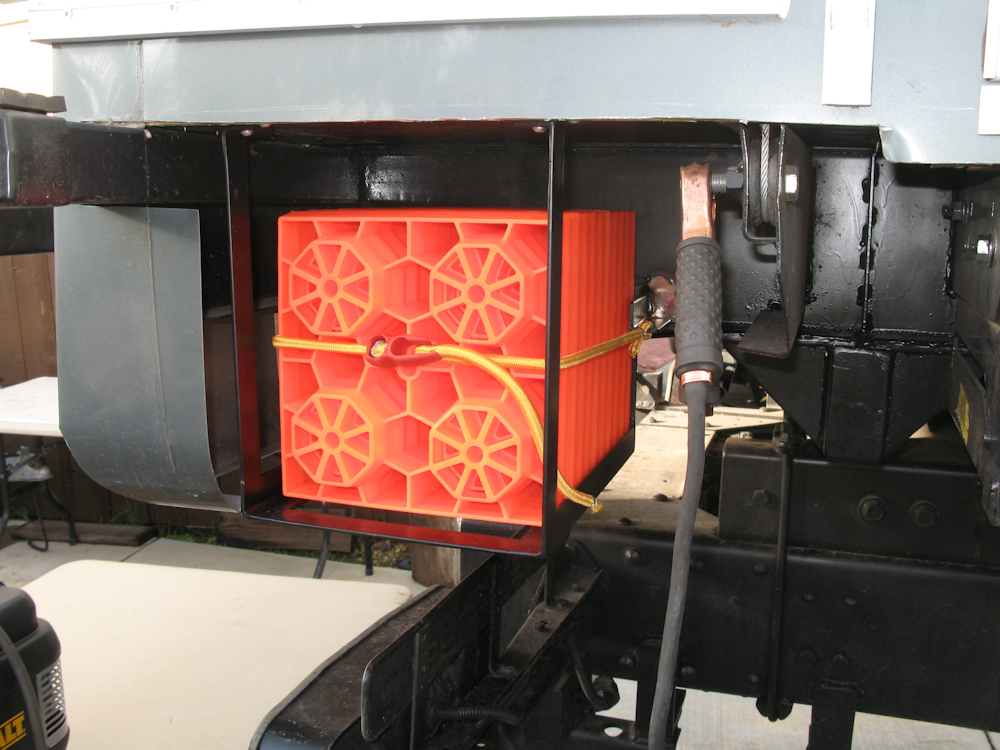
The
leveling block frames were welded to the trailer and an appropriate
shock-cord restraint was made.

The
front frame was welded next to the mounting rack for the stairs.
This was a ton of
work. We faced a number of challenges including rain on our
outdoor workshop. The saw made things easier, but in retrospect,
I should have anticipated the need for a saw and gotten a
higher-quality saw. This saw works, but has some annoying
issues. Next up: internal plumbing in the living quarters and
electrical retrofit.
| Previous Adventure | ||
| Trip Home Page |
Photos and Text Copyright Bill Caid 2010, all rights
reserved.
For your enjoyment only, not for commercial use.